Easter Bunny Button Cookies
Easter Bunny Button Cookies: A Fun and Festive Spring Treat
Table of Contents
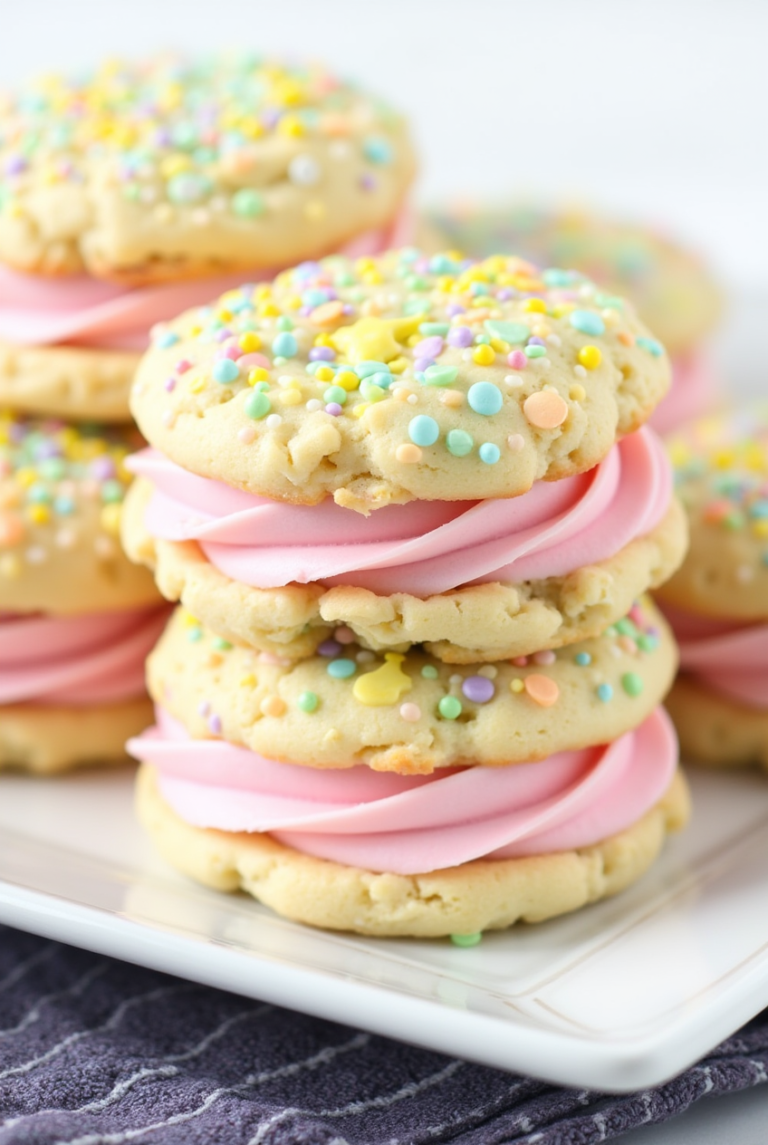
If you’re looking for the perfect Easter treat that’s both adorable and delicious, Easter Bunny Button Cookies are just what you need! These delightful cookies are soft, buttery, and shaped like buttons, making them a whimsical addition to any Easter celebration. Their pastel colors and sweet flavors make them perfect for kids and adults alike.
In this detailed guide, we will explore everything you need to know about making Easter Bunny Button Cookies, including key ingredients and their roles, preparation time, step-by-step instructions, presentation ideas, creative twists, expert tips, and frequently asked questions.
Let’s get baking!
Key Ingredients and Their Roles
Each ingredient in Easter Bunny Button Cookies plays an important part in achieving the perfect texture, flavor, and festive look. Here’s a breakdown of what you’ll need and why:
Dry Ingredients:
- All-Purpose Flour – The foundation of the cookies, providing structure and ensuring they hold their shape.
- Baking Powder – Helps the cookies rise slightly, giving them a soft, yet firm texture.
- Salt – Balances the sweetness and enhances the overall flavor.
Wet Ingredients:
- Unsalted Butter – Adds richness and a soft, buttery texture. Using unsalted butter allows better control of the salt content.
- Granulated Sugar – Sweetens the cookies while helping achieve a light and delicate crumb.
- Egg Yolk – Contributes to a tender texture and binds the dough together.
- Vanilla Extract – Enhances the cookies with a subtle, warm flavor.
Coloring and Decoration:
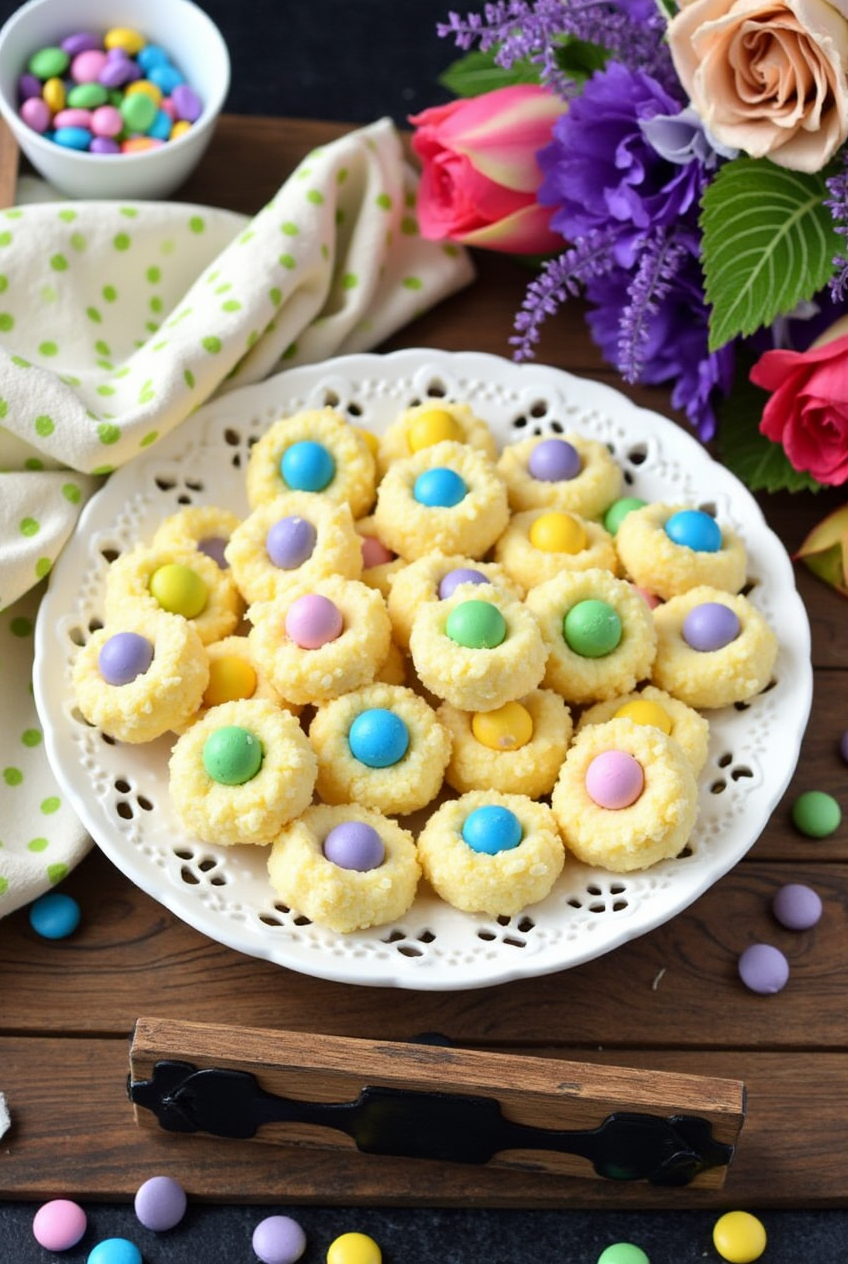
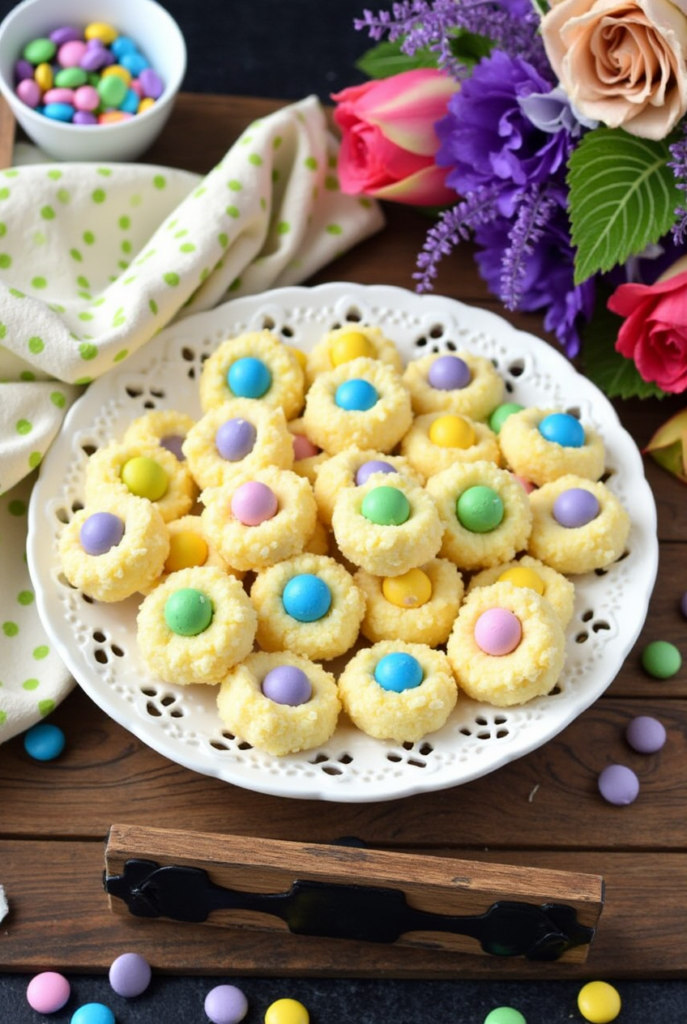
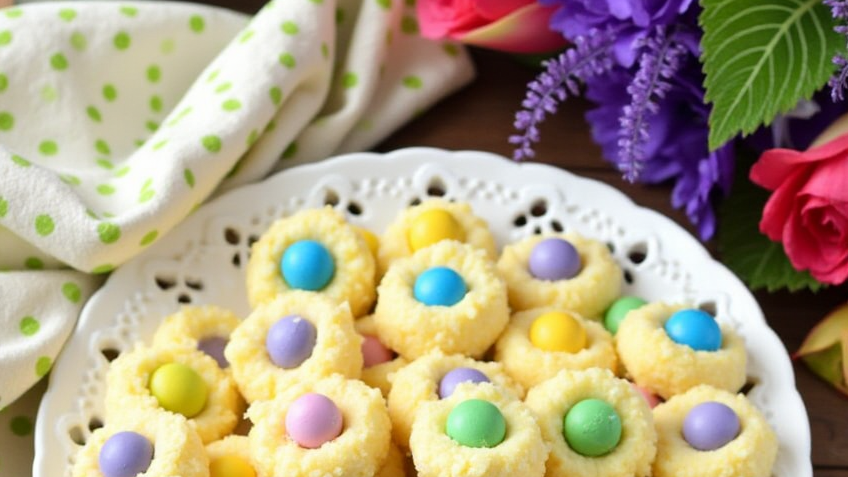
- Pastel Food Coloring – Essential for creating the soft, spring-inspired colors that make these cookies extra festive.
- Powdered Sugar – Used for dusting or in a simple glaze to add extra sweetness.
- Candy Pearls or Mini Sprinkles – These tiny decorations help mimic the look of buttonholes on the cookies.
Preparation Time
- Prep Time: 20 minutes
- Chill Time: 30 minutes
- Bake Time: 10-12 minutes
- Total Time: About 1 hour
Ingredients
For the Cookie Dough:
- 2 ½ cups all-purpose flour
- 1 teaspoon baking powder
- ½ teaspoon salt
- 1 cup unsalted butter (room temperature)
- ¾ cup granulated sugar
- 1 egg yolk
- 1 ½ teaspoons vanilla extract
- Food coloring (pastel shades like pink, yellow, green, and blue)
For Decoration:
- Powdered sugar (for dusting)
- Candy pearls or mini sprinkles
- Optional glaze: 1 cup powdered sugar + 2 tablespoons milk
Step-by-Step Cooking Instructions
Step 1: Prepare the Cookie Dough
- Mix the dry ingredients – In a medium bowl, whisk together the all-purpose flour, baking powder, and salt. Set aside.
- Cream the butter and sugar – In a large mixing bowl, use an electric mixer to beat the butter and sugar until light and fluffy (about 2-3 minutes).
- Add egg yolk and vanilla – Mix in the egg yolk and vanilla extract, blending until well combined.
Step 2: Color the Dough
- Divide the dough – Split the dough into 3-4 portions, depending on how many different colors you want to use.
- Add food coloring – Add a few drops of pastel food coloring to each portion, kneading gently until the color is evenly distributed.
Step 3: Chill the Dough
- Wrap and chill – Wrap each portion of colored dough in plastic wrap and refrigerate for at least 30 minutes. This helps prevent the cookies from spreading while baking.
Step 4: Shape the Cookies
- Roll out the dough – On a lightly floured surface, roll out each portion of dough to about ¼-inch thickness.
- Cut into circles – Use a small round cookie cutter (or the rim of a small glass) to cut out circles.
- Create the buttonholes – Use a straw or the tip of a piping tip to punch out 2-4 small holes in the center of each cookie to mimic a button.
Step 5: Bake the Cookies
- Preheat the oven – Set the oven to 350°F (175°C) and line a baking sheet with parchment paper.
- Place cookies on the baking sheet – Arrange the cut-out cookies about 1 inch apart.
- Bake – Bake for 10-12 minutes, or until the edges are just lightly golden.
- Cool completely – Let the cookies cool on the baking sheet for 5 minutes before transferring them to a wire rack to cool completely.
Step 6: Decorate and Serve
- Dust with powdered sugar – Lightly dust the cooled cookies with powdered sugar for a soft, delicate look.
- Add decorations – Use candy pearls or mini sprinkles to highlight the button design.
- Optional glaze – If desired, mix powdered sugar with milk to create a simple glaze and drizzle it over the cookies.
Expert Tips for the Best Easter Bunny Button Cookies
- Chill the dough – Chilling prevents the cookies from spreading too much in the oven, keeping their shape intact.
- Use high-quality vanilla extract – The better the vanilla, the richer the flavor of the cookies.
- Roll the dough evenly – This ensures even baking and prevents some cookies from overbaking while others remain undercooked.
- Don’t overbake – These cookies should be soft and lightly golden, not browned.
- Let the cookies cool before decorating – This prevents decorations from melting or running.
Presentation Tips
- Serve on a pastel-colored platter – Enhance the Easter theme by arranging the cookies on a festive pastel or floral dish.
- Package as gifts – Place cookies in small treat bags with a ribbon for a cute homemade Easter gift.
- Use a cookie jar – Display them in a glass cookie jar so guests can see the colorful treats.
Creative Twists for Easter Bunny Button Cookies
- Lemon or Almond Flavor – Swap the vanilla extract for lemon or almond extract for a refreshing twist.
- Chocolate Version – Add 2 tablespoons of cocoa powder to the flour mixture for a chocolate button cookie.
- Stuffed Cookies – Place a small piece of chocolate or jam between two thin cookies before baking for a surprise filling.
- Easter Bunny Faces – Instead of button shapes, shape the cookies into bunny faces with candy eyes and whiskers.
Pro Tip for Customization
For a more interactive baking session, let kids help with coloring and decorating the dough. They will love making their own custom Easter Bunny Button Cookies in different colors and patterns!
Frequently Asked Questions
Can I make the dough ahead of time?
Yes! You can make the dough up to 2 days in advance and store it in the fridge. Just let it sit at room temperature for 10-15 minutes before rolling it out.
How should I store these cookies?
Store them in an airtight container at room temperature for up to 5 days. For longer storage, freeze them in a sealed container for up to 2 months.
Can I use store-bought cookie dough?
Yes, but homemade dough gives a fresher taste and allows for better color customization.
Can I make “Easter Bunny Button Cookies” gluten-free?
Yes! Use a gluten-free all-purpose flour blend in place of regular flour.
Conclusion
Easter Bunny Button Cookies are a fun, festive, and delicious addition to any Easter celebration. Their soft texture, buttery flavor, and pastel colors make them a treat that everyone will love. Whether you stick to the classic recipe or try one of the creative twists, these cookies are sure to become a holiday favorite.
So grab your ingredients, start baking, and enjoy the magic of Easter Bunny Button Cookies this spring!
If you like it, Leave a Comment !
There are no reviews yet. Be the first one to write one.