Italian Easter Cookies / Uncinetti
Italian Easter Cookies / Uncinetti
Table of Contents

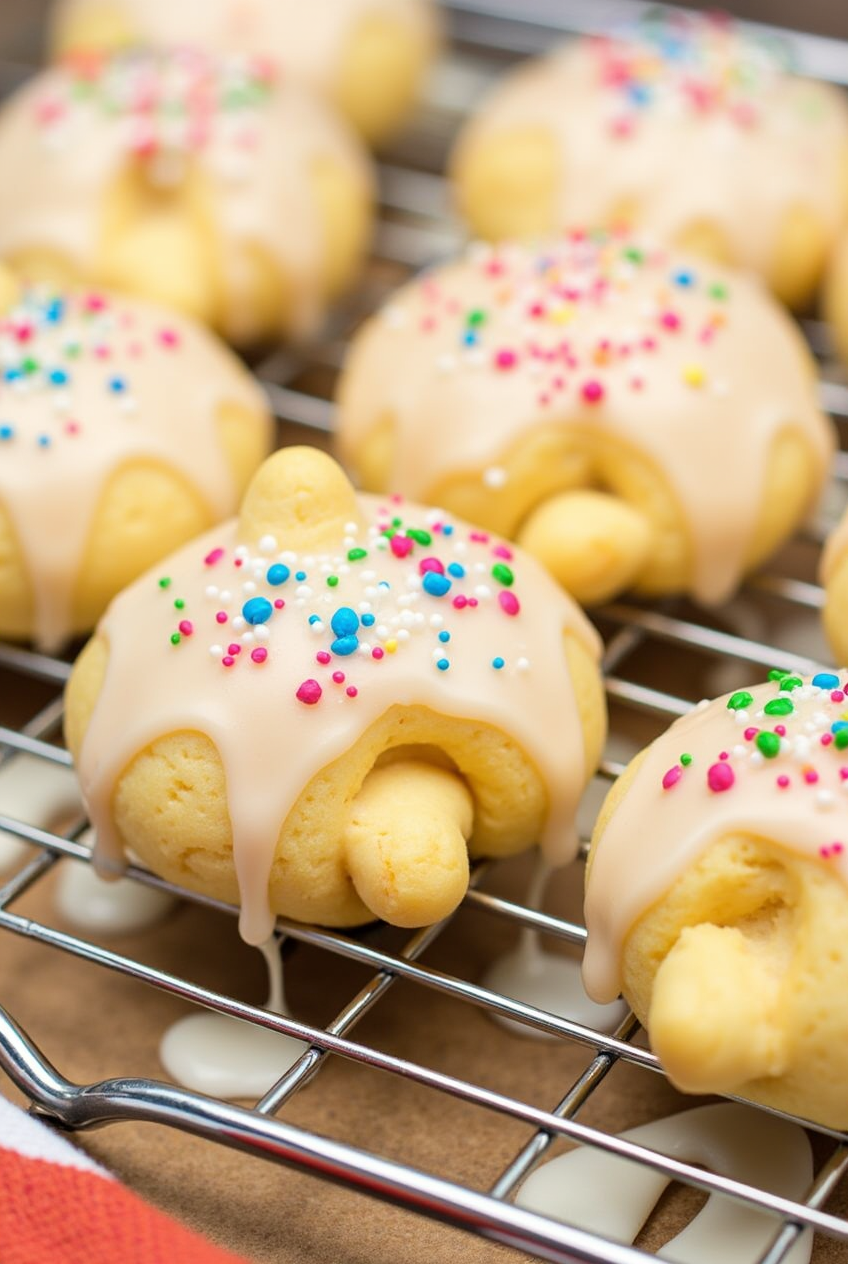
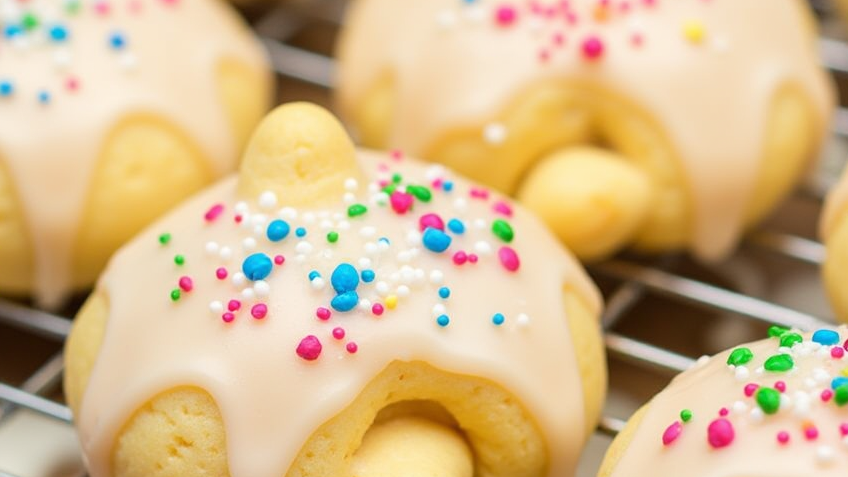
Italian Easter Cookies / Uncinetti are a traditional treat enjoyed during Easter celebrations in many Italian households. These soft, slightly sweet cookies are flavored with vanilla and citrus, then topped with a light glaze and colorful sprinkles. They have a delicate, cake-like texture and are perfect for serving with coffee or tea.
These cookies are not only delicious but also fun to make. The dough is easy to shape into small knots, twists, or rings, making them a great activity for families to enjoy together. In this article, we will cover everything you need to know about making Italian Easter Cookies / Uncinetti, including key ingredients, step-by-step instructions, expert tips, presentation ideas, creative twists, a pro tip for customization, and frequently asked questions.
Why You’ll Love Italian Easter Cookies / Uncinetti
- Soft and tender texture – These cookies are light, fluffy, and slightly cake-like.
- Simple ingredients – Uses pantry staples, making them easy to prepare.
- Perfect for Easter – A festive and traditional treat for the holiday.
- Fun to shape and decorate – Create different shapes and add colorful sprinkles.
- Great for gifting – Package them in a decorative box for a thoughtful homemade gift.
Key Ingredients and Their Roles
Each ingredient in Italian Easter Cookies / Uncinetti plays a special role in achieving the right texture and flavor.
All-Purpose Flour
- Provides structure and texture to the cookies.
- Helps create a soft and slightly dense consistency.
Baking Powder
- A leavening agent that helps the cookies rise.
- Gives them a light, airy texture.
Granulated Sugar
- Sweetens the cookies and enhances their flavor.
- Helps create a tender crumb.
Butter (Softened)
- Adds richness and flavor.
- Helps create a soft, melt-in-your-mouth texture.
Eggs
- Provide structure and help bind the ingredients together.
- Give the cookies a light and fluffy texture.
Milk
- Keeps the cookies moist and soft.
- Helps blend the ingredients smoothly.
Vanilla Extract
- Adds warmth and enhances the overall flavor.
- A classic ingredient in traditional Italian cookies.
Lemon or Orange Zest
- Adds a hint of citrus flavor that pairs well with the sweetness.
- Gives the cookies a fresh, bright taste.
Powdered Sugar
- Used to make the glaze, adding a smooth and sweet finish.
Milk (for the glaze)
- Helps create a pourable glaze that coats the cookies.
Colorful Sprinkles
- A festive topping that makes these cookies perfect for Easter.
Preparation Time
- Prep Time: 15 minutes
- Chilling Time: 30 minutes (optional)
- Baking Time: 12-15 minutes
- Glazing & Decorating Time: 10 minutes
- Total Time: 1 hour
- Servings: About 24 cookies
Ingredients
For the Cookies
- 2 ½ cups all-purpose flour
- 2 teaspoons baking powder
- ½ cup granulated sugar
- ½ cup unsalted butter (softened)
- 3 large eggs
- 1 teaspoon vanilla extract
- 1 tablespoon lemon or orange zest
- ¼ cup milk
For the Glaze
- 1 cup powdered sugar
- 2-3 tablespoons milk
- ½ teaspoon vanilla extract
- Colorful sprinkles for decoration
Step-by-Step Cooking Instructions with Expert Tips
Step 1: Prepare the Dough
- In a large mixing bowl, whisk together the flour and baking powder.
- In a separate bowl, beat the softened butter and sugar until light and fluffy.
- Add the eggs one at a time, mixing well after each addition.
- Stir in the vanilla extract and lemon or orange zest.
- Gradually add the flour mixture, alternating with the milk, until a soft dough forms.
Expert Tip: If the dough feels too sticky, add a little more flour, one tablespoon at a time. If it’s too dry, add a splash of milk.
Step 2: Chill the Dough (Optional)
- Wrap the dough in plastic wrap and refrigerate for 30 minutes.
- Chilling helps the dough firm up, making it easier to shape.
Expert Tip: Chilling is not required but helps the cookies hold their shape better during baking.
Step 3: Shape the Cookies
- Preheat your oven to 350°F (175°C). Line a baking sheet with parchment paper.
- Take small portions of dough (about a tablespoon) and roll them into ropes.
- Form into knots, twists, or rings.
- Place the shaped cookies on the prepared baking sheet, spacing them slightly apart.
Expert Tip: Keep your hands lightly floured to prevent the dough from sticking while shaping.
Step 4: Bake the Cookies
- Bake in the preheated oven for 12-15 minutes or until the edges are lightly golden.
- Remove from the oven and let the cookies cool on a wire rack.
Expert Tip: Do not overbake, as these cookies should stay soft and tender.
Step 5: Prepare the Glaze
- In a small bowl, whisk together the powdered sugar, milk, and vanilla extract until smooth.
- Adjust the consistency by adding more milk if needed.
Expert Tip: The glaze should be thick enough to coat the cookies but thin enough to drizzle smoothly.
Step 6: Glaze and Decorate
- Dip the cooled cookies into the glaze or drizzle it over them with a spoon.
- Immediately sprinkle with colorful sprinkles before the glaze sets.
- Let the cookies sit for about 15 minutes until the glaze firms up.
Expert Tip: Place parchment paper under the cooling rack to catch any excess glaze and make cleanup easier.
Presentation Tips
- Arrange the cookies on a decorative Easter platter for a festive look.
- Place them in a gift box lined with tissue paper for a beautiful homemade present.
- Serve with a cup of coffee, tea, or a glass of milk.
- Display on a tiered dessert stand alongside other Easter treats.
Creative Twists
- Almond Flavor: Replace vanilla extract with almond extract for a nuttier taste.
- Chocolate Glaze: Use melted white or dark chocolate instead of the sugar glaze.
- Coconut Coating: Sprinkle shredded coconut over the glaze for added texture.
- Different Shapes: Try braiding the dough or shaping them into Easter-themed figures.
Pro Tip for Customization
For a softer, cake-like texture, replace half of the all-purpose flour with cake flour. This makes the cookies extra tender and gives them a lighter crumb.
Frequently Asked Questions
Can I make the dough ahead of time?
Yes, the dough can be made a day ahead and stored in the refrigerator. Let it come to room temperature before shaping.
How long do Italian Easter Cookies / Uncinetti stay fresh?
They stay fresh in an airtight container at room temperature for up to 5 days.
Can I freeze Italian Easter Cookies ?
Yes, you can freeze them before glazing. Thaw and glaze when ready to serve.
Why did my cookies spread too much?
This could be due to too much butter or not chilling the dough before baking. Refrigerating the dough helps cookies hold their shape.
Can I make “Italian Easter Cookies / Uncinetti“ without eggs?
Yes, you can substitute eggs with unsweetened applesauce or yogurt for a similar texture.
Final Thoughts
Italian Easter Cookies / Uncinetti are a classic Easter treat that brings warmth and tradition to any celebration. They are easy to make, fun to decorate, and perfect for sharing with family and friends. Whether served with coffee or gifted in a decorative box, these cookies add a touch of sweetness to the holiday season.
Try this dessert recipe today and enjoy a taste of Italian Easter tradition!
If you like it, Leave a Comment !
There are no reviews yet. Be the first one to write one.